Marble stone repair glue for beginners
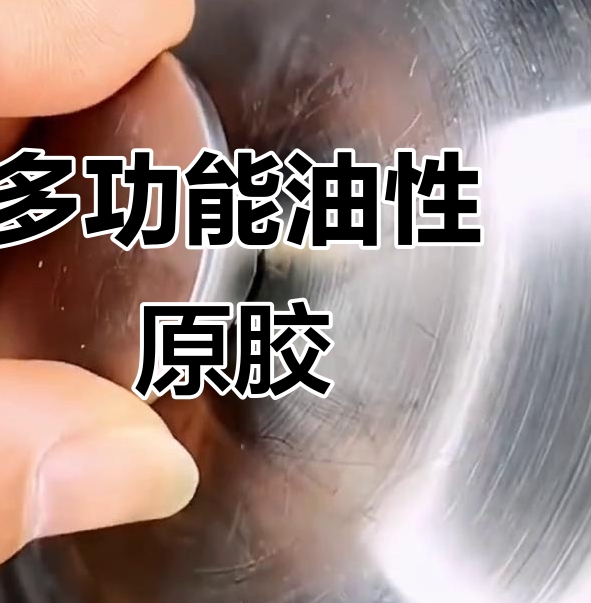
The Ultimate Beginner’s Guide to Picking Marble Stone Repair Adhesive Marble is a lovely and long-lasting material that has become very popular for use in high-end homes as kitchen and bathroom countertops, tile floors and wall coverings, and more. Unfortunately, as time goes on, and as marble is used on a daily basis, it will become chipped, cracked, broken, marred, etc. The first thing you must do is decide which type of glue to use while making the repair; this will determine how strong and nearly invisible the repaired area will look. To assist in making the decision on what type of marble repair adhesive to buy, this guide will cover the types of adhesive available for marble stone repairs, how to select the right adhesive based on your specific needs, and how to perform a simple, long-lasting repair that will be suitable for beginners. What is Marble Stone Repair Glue? Marble stone repair glue is a type of adhesive used exclusively for bonding marble stone together. Marble Stone repair adhesives are different from typical household types of adhesives in the following ways: marble adhesives can penetrate very dense natural stone surfaces; they have high moisture resistance and can withstand temperature changes; when dry and hardened, they can be polished to closely resemble the appearance of marble; there are two types that most first-time marble repair users will select: dye-based epoxy marble repair adhesives and polyester-based marble repair adhesive. The Best Marble Stone Repair Glue for Beginner Repairers: 1. Epoxy Adhesive (Best for First-Time Users) Most first-time users of epoxy adhesives find them easy to use, and because they have many uses for repairing damaged marble.There are many reasons to love using epoxy glue! First, the bond formed when cured provides excellent strength between 2 surfaces; second, this adhesive is very good at filling in cracks; third, there is minimal shrinkage as the glue cures; fourth, epoxy is extremely moisture resistant; fifth, you can purchase this glue in either clear or pigmented colors; sixth, the “knifing” method of using epoxy works very well for filling in chips and edges since it will not run off of edges like most glues will do; and seventh, there are 2 types of epoxy adhesives available. The second type of adhesive we will discuss is drywall (marble) glue. This type has been widely used as a bonding agent for constructing structural stone products because it cures quickly and can be easily tinted. Some benefits of using drywall glue include: quick-drying time; good color matching capabilities; and being able to sand out very easily after curing. Downsides of drywall glue include: shrinking as it cures; musty odor; and less moisture resistance than an epoxy adhesive. For indoor decorative projects, a good alternative to epoxy is drywall glue, but when it comes to repairs by do-it-yourself people, it may not be as safe or dependable as epoxy glue. When will you want to use a marble repair adhesive? Hairline breaks, small chips, small edge damage, reattaching broken pieces, and filling small holes. When not to use marble repair adhesives? Major structural or fabrication cracks; significant structural failure of marquee pieces; movement or instability of installation.A hairline fracture that runs the full length of the countertop or slab may need an addition of support by a professional. Below is a basic overview of the process for beginners. 1) The surface requires cleaning first. Use acetone or alcohol to clean the countertop or surface. Ensure that it is free from all grease, dust, and debris. Once the surface is clean, you will have to wait until it is completely dry before applying any type of adhesive. 2) Prepare the epoxy adhesive according to the manufacturer’s directions. Once you have mixed both parts of the epoxy glue, you must mix both together well until they are completely mixed. Be careful to not create any air bubbles while mixing the products. 3) Apply the Glue to the Crack In the case of marble with a crack, you should try to apply epoxy adhesive into the crack using a razor blade or small spatula. If you are attempting to repair a marble countertop that has been chipped out, you should slightly overbuild the epoxy in the chip so that it can expand as it cures. In the case of fractured pieces how to: The two pieces of marble that are being joined must be in position before they are glued together. 4) Remove any excess adhesive from the two surfaces before it cures using a straightedge razor to minimize sanding later.Step 5: Cure the adhesive per manufacturer directions. This step will take quite a bit of time depending on the adhesive used: Fast set Epoxy = 15 – 30 minutes, and Standard Epoxy = 6 – 24hours, and/or Polyester Adhesive = 10 – 20 minutes. Adhesives should not be disturbed until they have fully cured. Step 6: After adequate curing has been accomplished, you will need to start with a small amount of very fine grit sand paper (400 – 600) and work up to even finer grits (1000 – 3000) to finish using a marble polishing compound, if desired. When properly completed, most repairs will be virtually invisible at completion. For individuals who are using marble repair adhesives for the first time, they need to consider: whether they want clear or coloured, if they are suitable for use indoors and must also consider moisture-resistant products, the amount of shrinkage, how fast a working time, and whether or not they will result in a product that can be polished. If you are inexperienced with the high-speed type of industrial adhesive, then you should apply the adhesive in a manner that allows sufficient time to have the product complete his or her work before you apply another layer of adhesive. Typical first time user mistakes are that they: do not clean the area where they plan to apply the adhesive before using it, too much or too little adhesive will be used, they did not mix the epoxy properly, they did not sand the area after it had cured, the colour of the adhesives did not match, and they did not take their time during the preparation stage, which had a direct impact on the final results. Indoor vs Outdoor Specification of which product to use when repairing indoor marble surfaces such as kitchens, bathrooms and living rooms will call for the use of a standard epoxy adhesive for indoor use, but in the case of repairing outdoor surfaces, use a UV resistant epoxy adhesive that will be more durable. As always, the temperature and stability of the product selected will be based on the conditions under which it will be applied. The use of polyester-based adhesive products when dealing with high humidity conditions outdoors is discouraged, due to the necessary durability of an outdoor repair as opposed to an indoor repair. Safety Considerations: All working areas must be adequately ventilated, wear gloves, avoid skin contact, and use the manufacturer’s instructions with respect to the mixing ratios; while the first time user’s products are thought of and labelled as safe, they are still made using industrial raw materials. In conclusion, for first time users of marble to repair products, epoxy based adhesives are the best choice for marble repair as: It provides a very high bond strength, has a very low shrinkage rate, has the ability to be polished to look like natural marble, the surface must be cleaned, the adhesive should be installed properly and be sure to allow for adequate cure time, which can be accomplished without the need for purchasing any professional grade equipment to successfully repair the surface of the marble. In addition to these factors, first time users will be assured of obtaining successful, permanent, and non-visible repairs to their marble surfaces when they select the proper adhesive product and properly follow established procedures when using the fine and/or coarse grit sandpaper.