
Epoxy stone bonding guide

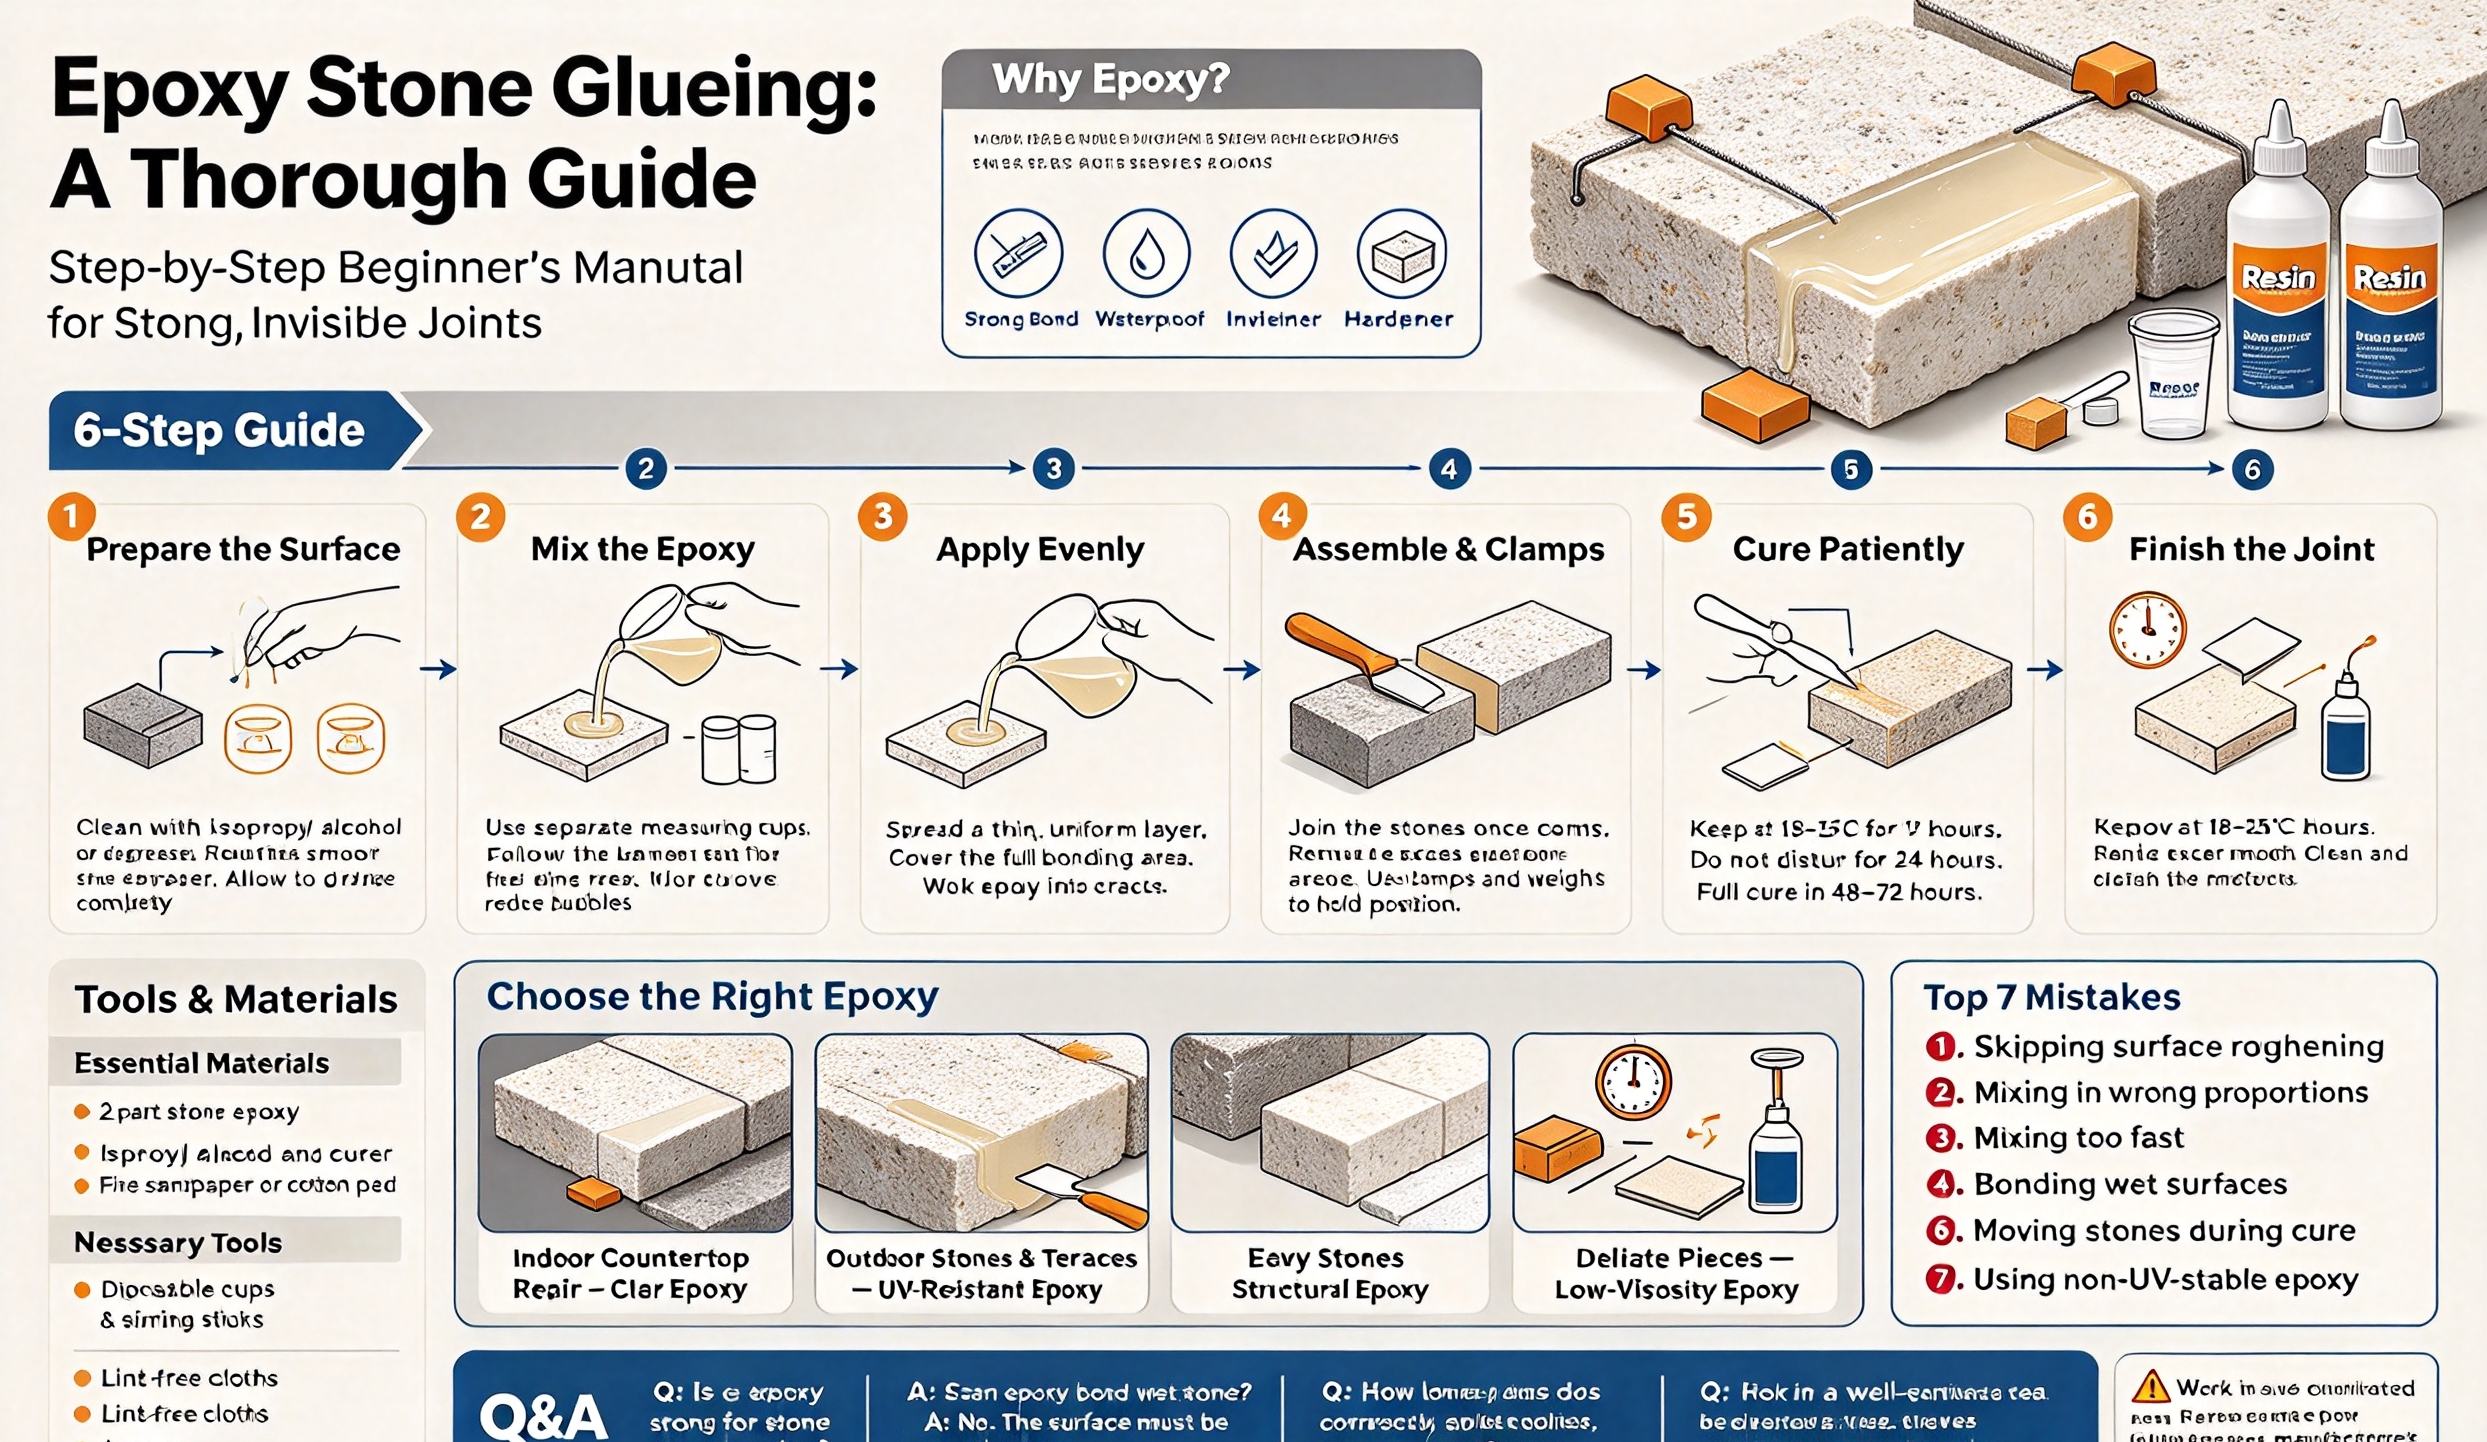
Epoxy Stone Glueing: A Thorough Guide
The method of stone glueing by means of epoxy is so common that even inexperienced craftsmen can apply it. It lets the owner of a marble surface repair it; it helps to stick granite tiles together or to restore garden stones. The plus of using epoxy is the possibility of great bonding with no problems which cannot be reached with any adhesive material at all. Truly enough, when we compare epoxy with other bonding agents like mortar or super glue, we have to admit that they never produce an invisible joint which is necessary for ideal surface joining.
This thorough guide about glueing stone with epoxy is given in accordance with the easy steps of the process. The terminology used in the guide is simple, and is understood by everybody without special knowledge or education.
The main drawback of all natural stones (marble, granite, travertine, slate, river rock, etc.) is their high smoothness, density and impermeability which prevent the bonding process. That is where the content of the guide and benefits of epoxy are of help:
– Functionality: Epoxy forms a solid substance which can stand up to any load, pedestrian traffic or climatic conditions.
– Impermeability: The agent does not let any water in thus it may be used in a bathroom or outside of the house.
– Invisible junction: The transparent- Non-shrinking: Epoxy adheres with exceptional strength
– Suitable for most types and varieties of stones: Suitable for rough and polished, not natural and engineered stones only
Necessary tools and materials for making epoxy bond with stones
You will not have to look for any sophisticated devices, as you will only need the following:
Essential materials
– 2-part epoxy for stones (composed of a resin and a hardener): It is better to use the clear knife-grade epoxy for joints and to work outdoors using UV resistant epoxy.
– Isopropyl alcohol or degreaser for stones (for stone cleaning)
– Fine sandpaper or cotton pad (for preparing the stones)
Necessary tools
– Disposable cups and stirring sticks (don’t reuse due to contamination with resin/hardener)
– Putty knife or spatula (for spreading the epoxy layer evenly)
– Painter’s tape, clamps and weights (for keeping the stone firm)
– Lint-free cloths
– Acetone (for removing excess un-cured epoxy)
How to bond stone with epoxy: Step-by-step guide (prepared specifically for beginners)
A successful bond starts by following these 6 steps that will help eliminate weak portions and air pockets and will ensure a neat finished product at the same time.
In order to properly prepare our surface first (most important step) we have to do it right because many failures can beTo prepare the bonding surfaces, they need to be wipes clean with isopropyl alcohol or degreaser so that any dirt, dust, oil, wax, or glue residue is removed. Just one drop of oil can ruin the bonding quality of the glue to the surface.
– Make the smooth surface rough. In the case of flooring made out of marble, granite, or engineered stone it is necessary to use a sandpaper to roughen it up so that tiny scratches would appear on it.
– Allow to dry. The surfaces must be kept free of moisture so that bubbles are not formed due to moisture that will inevitably be present during curing.
– Before gluing the stones together check if the stones match well with each other. Before making any glue mixture check if the stones interlock well with each other to avoid adjustment later on when the glue is already applied to the pieces.
Step 2. Mixing the Epoxy Correctly (No Guessing)
Two-component epoxy means that the components must not be mixed wrongly as incorrect proportions of the components may result in sticky mixture.
– Use two separate measuring cups for measuring.(A) and (B) respectively in order to make sure that everything stays clean and that it does not get contaminated before mixing.
– Follow mixing instructions carefully. Most glues provide ratios for mixing components: (A):B (1:1) or (A):B (3:1)
– During mixing the two components must be combined together.- the mixing process should be slow to minimize the number of air bubbles introduced intoTake note: Small mixtures should only be made in quantities that will be used within 5-30 minutes.Step 3: Apply the glue uniformly
Use the spatula to create a thin and uniform layer of glue on the surfaces of the stones that you are gluing together.
Make sure you cover all of the surfaces you need to bond the stones. There should not be any areas that have no glue or thick crumbles of glue. Too thick layer will lead to the formation of air bubbles and prolong the curing time.
It is crucial to push the glue deep into the cracks and ensure better fixation of the stones.
Step 4: Assemble the stones and get rid of excess glue
This is the moment when you can join the two stones. Remember that once the stones touch, any movements are impossible, and it is better to refrain from making any movements after you have applied glue.
Apply some pressure to get rid of the extra glue.
Keep the stones in correct position with the help of clamps and weights.
You can use acetone to eliminate excess glue because it is the only way to clean glue without damaging the surface.
Step 5: Wait until the glue sets
Be patient and do not hurry.
Leave the glue within a warm environment of 18-25 degrees Celsius for 1-2 hours.- For twenty-four hours do not start handling the project.
– Approximately the curing process will take forty-eight to seventy-two hours.
Stage 6: The finishing work
– After a required amount of drying time is over, take all the tape and clamps from the stone.
– Use sandpaper to polish the stone.
– Clean and polish the foam in order to make it look as if it was before being glued.
Top Seven Deadly Sins in Epoxy Stone Bonding
The wrong steps taken applying the above processes lead to weak bonds, yellow stains on the seams, air bubbles appearing, and failure of the project.
1. Forgetting to roughen the surface: all surfaces are very smooth and polished thus it will be impossible to create a bond with the epoxy.
2. Wrong mixing of the epoxy: if the components are mixed incorrectly, the epoxy will not bond.
3. Mixing the components really quickly: there will be a lot of bubbles of air, which will have a negative impact on the bonding strength.
4. Bonding the wet surface: moisture will not allow the bonding to take place.
5. Not taking any action: the moment epoxy is used, the curing process starts immediately.
6. Altering the stones while the epoxy is curing: this will cause a formation of some cracks, which break the bond.
7. Using acrylic epoxy, with no UV protective features: this will cause color changing and deterioration of the surface.
How To Choose The Right Epoxy For Your Rock Projects
– For countertops and other types of repair works indoors: Clear epoxies (with high quality and invisible joint line)
– Outdoor stones and terraces: special kinds of epoxies, which have UV protection (the type of epoxy will help it keep waterproof features and color)
– For huge stones: structural epoxies (which can support heavy weight)
– For fragile or delicate pieces: low-viscosity epoxies (which do not cause problems with staining).
Q&A about Epoxy Stone Bonding
Q: Is epoxy strong for stone bonding?
If mixed correctly, epoxy is stronger than stones. When applied and cured, it will never lose its strength at the standard operating conditions.
Q: Is it possible for epoxy to stick to the wet materials?
No, the surface has to be absolutely dry.
Q: For how long does epoxy work?
If applied correctly, epoxy works in outdoors conditions for more than 10 years.
Q: Can uneven joints be leveled?
Yes, if you leave the excess glue to dry, you can sand it to completely flat surface.

