
How to fix granite tile cracks

Fixing granite tile cracks can be done using a step-by-step professional guide for your convenience. Typically, granite tile cracks will be caused by many things such as too much weight put on them, changes in temperature, shifting of foundation or improperly installed tiles. If you take care of repairs quickly and by a professional, then this will save you from additional expansion of a crack and the potential for water crossing over into the tile as well as causing permanent damage to the stone surface itself. In this article, we will share how you can complete simple DIY repairs to small (minor) cracks in granite tiles and when to bring in a professional contractor for larger cracks due to structural failure. Which ever method you choose, we’ve ensured that this will help you successfully repair the cracks in your granite tiles in a way that is easy and long-lasting.
1. Prior to Installation: Correct Classification of Cracks To ensure that your efforts are properly directed, break down your cracks by type of repair required. Cracks that are less than a 1/16” wide and are not a structural issue can be repaired with DIY methods; however, should any of these three (3) characteristics apply to the width/depth of the crack: wider than 1/16”, crack is spreading and is potentially loose, you need to contact a contractor to repair the crack and restore its structural integrity.
2. DIY Repair For Superficial Granite Tile Crack(s) Use the steps below for a clean, unnoticeable and long-lasting repair of a superficial granite tile crack(s).
Step 1: Thoroughly Clean Surface Area Clean the cracked area using acetone or denatured alcohol, this will remove contaminants (dust, grease and build-up of dirt) from the surface of your tile. Do not use plain water as moisture from the water will prevent the epoxy from sticking or adhering to the surface. Allow your cleaned surface to dry completely (about 10–15 minutes) in order to create a suitable surface to bond against (i.e., a clean/dust-free/dry surface).
Step 2: Protect and Prepare Surrounding Tiles Place painter’s tape on both sides of crack to prevent smudging with the epoxy onto the polished granite tile surface.Sanding the crack edges will give your repaired piece a better bond with the glue.
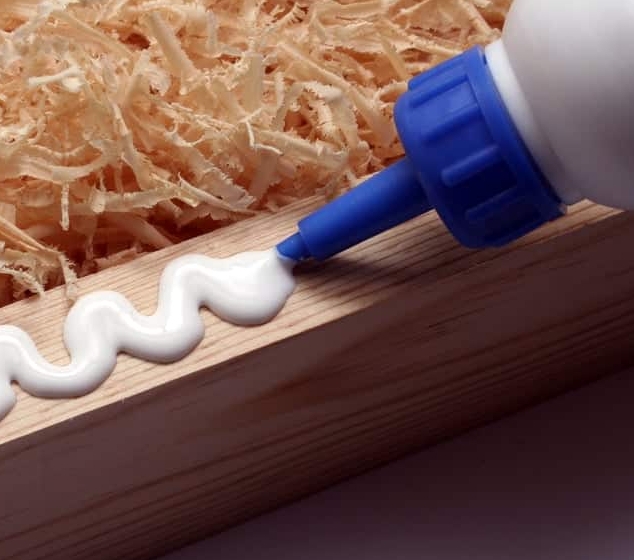
To fix the crack, you should use a 2-component epoxy made specifically for granite. Mix the hardener and resin according to manufacturer direction; if desired, the resin can be tinted before mixing to match the tile color. Once you have properly mixed the ingredients, fill the crack with an injectible-type epoxy; use a putty knife or syringe to ensure that the crack is filled to the top and that there are no air pockets.
After filling the body of the crack with epoxy, and while the glue is still wet, scrape any excess from the surface of the tile using a straight edge. Allow the epoxy to cure as per the manufacturer’s specifications; typically at least 24 hours at room temperature. Once the epoxy has cured completely, finish the repair with a granite polishing compound to blend the repair with the remainder of the tile.
Expert Repairs Are Required For Major Crack Repairs
In general, when your granite tile has large extensive cracks or fracture lines in it that affect its structural integrity, you cannot expect to fix them yourself in such a way as to ensure that they will remain stable long-term. Professionals that routinely work with stone will inject a special type of resin into the deep cracks and frailer areas of your tile in addition to giving additional support to the base of the tile when finished. In almost all situations with severely cracked or unstable tiles, replacing the entire tile is the best way to prevent reoccurring cracks and possible danger.
Helpful Hints For Successful Long-lasting Repairs
1. Always use only epoxies that were manufactured exclusively for use with natural stone; general-purpose glues will peel away from the surfaces and/or discolor and will only last for a short period of time.
2. NEVER attempt to make repairs on wet or dirty cracks (a clean surface is required for a good bond).
3. Do not walk on or apply weight to the repaired surface for 24 hours after completing the repair.
4. Seal the entire granite tile to prevent staining and cracking after completing repairs; sealing the tile before repair will help avoid future cracks.
Final Thoughts
Small cracks on granite tiles can typically be repaired by DIYers using epoxy glue. Larger structural cracks should be repaired by professionals; and cleanliness, correct materials (to include adhesives), and a proper cure time are essential factors in the success of a smooth durable repair. Regularly sealing your granite tiles and preventing sharp impacts are some simple ways to prevent future cracking.