
Epoxy glue for stone countertops

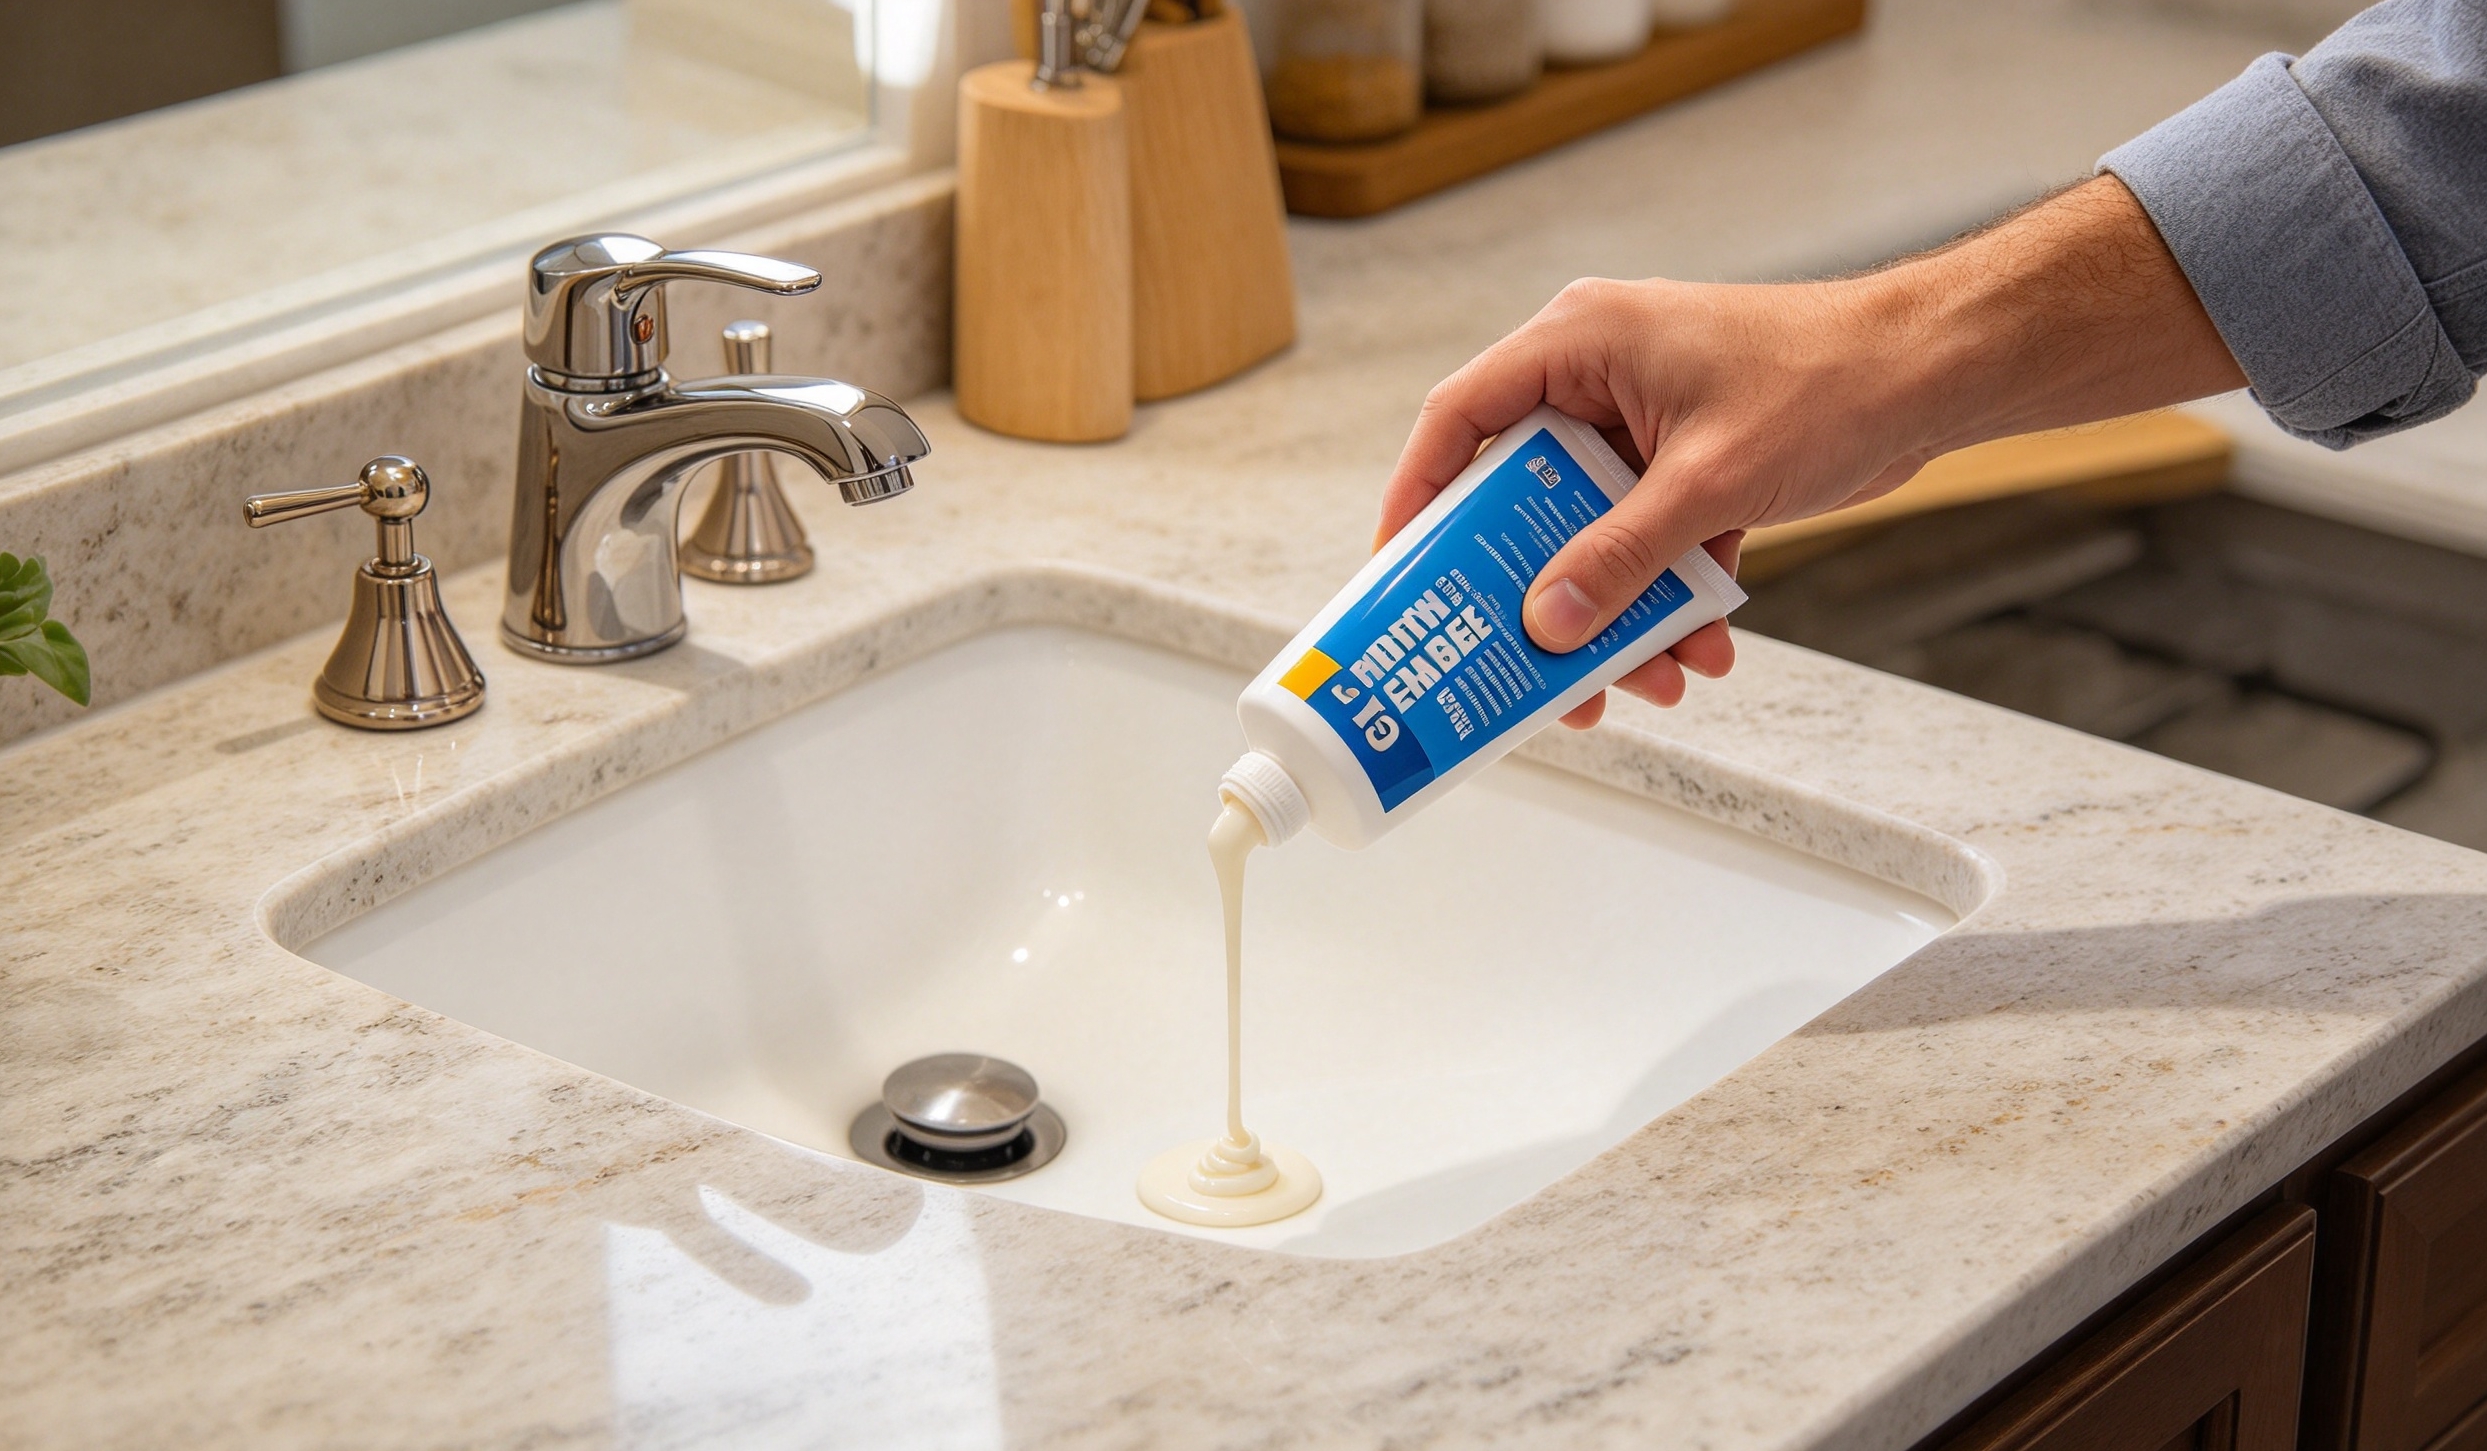
Choosing & Using Epoxy Glue for Stone Counters: Problems Solved
Epoxy glue is the only type of structural adhesive that is used for natural and engineered stone counters by manufacturers of stone materials, installers, and repair masters since it is ideal for creating joints, repairing cracks and filling gaps, as well as for edge lamination and bonding different materials. Epoxy glue is made as two-component material consisting of resin and hardener and is customized for stone industry in terms of high shear and tensile strength, negligible shrinkage upon curing, and impermeability to moisture and chemicals. The present article will cover the main characteristics of epoxy glue, selection criteria, common methods of operation and main failures.
Benefits of Using Epoxy Glue
When comparing epoxy glue with polyester resin, acrylic adhesive, and general construction glue, one should note some specific advantages of latex stone epoxy glue enabling it to withstand conditions of countertop usage:
High strength
In case of stone epoxy glue curing, it reaches shear strength of 4000-6000 psi that is suitable for various load applications such as miter seams, reinforcement of overhang parts, and manufacturing of sink fixes. The hardness of stones (Shore D 70-85) is fully compatible with cured glue keeping it intact.
Low degree of shrinkage.
The most important aspect of crosslinking is the decrease of shrinkage that is very important for gluing countertops and preventing seam formation.All this makes it an excellent choice for wet areas, such as near sinks and dishwashers, as well as for outdoor stone countertops, as the polyester method is subject to degradation due to prolonged moisture exposure.Custom Color Tinting
Stone pigment powder can be mixed with clear or semi-transparent epoxy resin to achieve the desired stone color. Proper custom tinting makes it possible to achieve seamless repairs without noticeable traces once the epoxy surface is sanded and polished.
Compatibility with a wide range of substrates
It can glue stone not only to other stones but also to stainless steel, aluminum, plywood, cement board, etc. Thus, it can be suitable for implementing complex countertop designs.
Low VOCs
Modern food-safe low-VOC stone epoxy meets all indoor requirements for home kitchen use, producing much less odor during mixing and curing than conventional polyester-based stone glue.
Important limitations and applications
Epoxy is not universal, and wrong selection can lead to premature failures:
Heat resistance: Ordinary epoxy can only withstand temperatures up to 120°C (250°F). If hot pots make contact with epoxy glue, it will become soft, discolored, and peeled off; for high-temperature cooking areas, heat-resistant epoxy adhesive must be used.
Longer curing: Working time (pot life) can take 45 mins to 3 hours, depending on the formulation. Full curing usually takes 24 hours; polishing can be done only after the adhesive is completely cured. Fast-curing polyester adhesive can be used for high-volume simple seams when exposure to moisture is not a problem.
Calcium-based stones (such as marble, limestone, and travertine) are sensitive to acidic solvents.Cleaning with acetone and alcohol should be done cautiously to prevent etching on surfaces before bonding begins.
UV Resistance: Standard clear epoxy will yellow over time if it is exposed to sunlight for long periods. For countertops that will go outside, use anti-yellowing UV-stabilised epoxy.
Choosing Epoxy for Your Countertop Project
Start by identifying the kind of job you want to do before selecting the type of epoxy.
Structural seaming & lamination (granite, quartzite, engineered stone)
Use structural stone epoxy that has low shrinkage and high adhesion properties. It should have medium pot life (60–90 minutes).
Repairing marbles, travertine & other soft stones
Use epoxy that is designed to work with calcareous stones since it has no etching qualities. Select the right thinning agents, preferably penetrating thinners.
Scratched surfaces
Use either high-build repair epoxy or epoxy that contains pigments as fillers because it allows the surface to be filled easily.
Countertops in outside areas or sinks
Use anti-yellowing hydrolysis-resistant marine-grade epoxy for these surfaces.
Countertops that come into contact with food
Check product information for compliance with food safety regulations. It is also important to ensure that the other attributes of epoxy are suitable for successful usage.
Step 1: Prepare the surface for bonding
Contamination from cutting fluids, grease or wax from polishing makes it impossible for epoxy to make contact with the stone.
For joint surfaces that need to be bonded, create a surface that has mechanical retention by using a 60–80-grit abrasive material. Do not leave the surface glossy.For smooth and clean surfaces, use compressed air to blow off any dust and wipe the surfaces thoroughly with isopropyl alcohol or acetone. Allow the surfaces to dry completely for about 5 to 10 minutes. Ensure that the surface is completely dry because moisture stuck in the surface causes soft cured epoxy.
To avoid excessive solvents from entering the marble and travertine surface, it is necessary to avoid damages caused while cleaning.
– Process of Mixing and Tinting
Ensure that the ratio of resin to hardener is maintained as per the manufacturer’s specification. Incorrect ratio can lead to incomplete curing. Mix slowly for about 2-3 minutes while scraping the sides of the mixing container.
While mixing the powder, add the pigment powder slowly and mix it continuously so that its color can be tested first on a sample surface.
– Procedure for Applying, Matching, and Clamping
After applying sufficient adhesive on one of the surfaces, join the two stones together and align them accordingly. Use clamps to make sure no excess air or adhesive is saved in place.Low temperature affects the curing process to a large extent. The cold stone absorbs heat from the joint and creates under-cured seam lines even if the air temperature is okay. The joint should be kept undisturbed while drying. Remove clamps only when the bond is ready for the first set of clamps, and wait to start loading, cutting or polishing until the bond is finally ready (usually in about 24 hours).
Step 5: Sanding and polishing
After the bond is made fully cured, the seam should be sanded gradually with diamond abrasive tools from rough to fine and polished to match the parent material shine. If an epoxy seam is applied correctly, it is impossible to notice visually.
Epoxy versus polyester adhesives for stone countertops
表格
Property Stone epoxies Polyester stone adhesives
Shrinkage No shrinkage Except moderate to high
Water-resistant properties Excellent Fair, poor for continuous wet use
Adhesive strength High structural grade Medium, mostly cosmetic seams
Chemical-resistant properties Good Sensitive to acids and solvents
Working time Longer (45-180 min) Fast curing (10-30 min)
Yellowing Low (UV grade)/Medium (standard) High
Best use Sink areas, outside, construction joints, wet environments Fast indoors, low-stress joints
Common defects and their solutions
Epoxy is soft or sticky after hardening
Reason: wrong ratio of components, improper mixing, temperature too low, moisture on surface.
Solution: Reject the joint, clean it well, re-prep surfaces and reapply it while observing the ratio.
Joints open after polishing
Reason: too much shrinking (incorrect adhesive), an improper connection, moving of cabinets.
Solution: Use an epoxy glue with low shrinkage factor, secure the rigid frames in cabinets properly, ensure that clamps work correctly.
Dark seam line visible
Reason: bad colour matching, trapped air in expanded joints.
Solution: Test the colour first, apply the epoxy slowly and vibrate gently while pouring.
Epoxy separates from the stone without effort
Reason: impurities and contamination from oil, wax or sealers.
Solution: Always sand down polished surfaces thoroughly and clean them twice with a solvent.
Safety and storage
Keep working in the ventilated areas, use gloves, goggles and sleeves. Be careful not to get the epoxy on the skin.
Store components in the cool and dry areas and out of the sun and heat. Do not freeze them.
Throw away leftover epoxy once it starts to gel.
Summary
Epoxy glue is a professional level of bonding of challenging projects of stone countertop installation. The negligible shrinking index, waterproofing properties and durability make it better than all other glues for wet kitchen areas, sinks cutouts, and outdoor rimstone installation. Success depends on correct preparation of surfaces, precise mixing of colours and curing.

